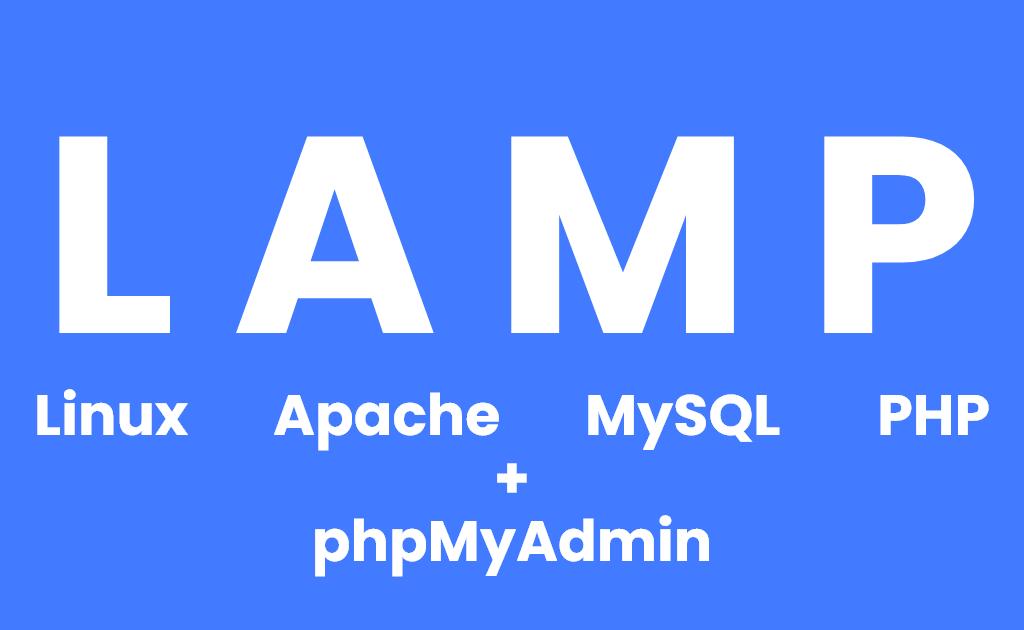
LAMP stack with phpMyAdmin
LAMP stack is a popular open-source web development technology stack that is used to create dynamic websites and web applications. The acronym LAMP stands for:
Linux: An open-source operating system.
Apache: A web server that is used to serve web content to clients.
MySQL: A relational database management system that stores and manages the data used by the web application.
PHP: A server-side scripting language that is used to create dynamic web pages and web applications.
Together, the LAMP stack provides a powerful and flexible environment for developing and deploying web applications. Linux provides a stable and reliable platform for running web servers, while Apache provides a powerful and flexible web server that can be customized to suit a variety of needs. MySQL provides a scalable and efficient database management system, while PHP provides a versatile and powerful scripting language for creating dynamic web content.
The LAMP stack is popular among developers because it is open-source, flexible, and easy to use. It is also widely supported by web hosting providers, making it easy to deploy web applications to production environments.
First of all, ensure everything is up to date on your server:
sudo apt update
sudo apt upgrade
1. Install Apache
Open up a terminal and run the following command:
sudo apt install apache2
Once Apache has been installed, you can check its status by running:
sudo systemctl status apache2
2. Install MySQL:
Run the following command to install MySQL:
sudo apt-get install mysql-server
During the installation process, you will be prompted to create a root password for MySQL.
You can check if MySQL is running by typing the following command:
sudo systemctl status mysql
3. Install PHP:
Run the following command to install PHP:
sudo apt install php php-cli php-mysql php-mbstring php-xml php-curl
Once the installation is complete, restart Apache with the following command:
sudo systemctl restart apache2
4. Install phpMyAdmin:
Run the following command to install phpMyAdmin:
sudo apt-get install phpmyadmin
During the installation process, you will be prompted to choose a web server. Choose Apache with space button.
Next, you will be asked to configure the database for phpMyAdmin. Choose Yes, and enter the root password you created during the MySQL installation process.
Finally, you will be asked to set a password for the phpMyAdmin user. Enter a secure password and confirm it.
Configuring Password Access for the MySQL Root Account
In order to log in to phpMyAdmin as your root MySQL user, you will need to switch its authentication method from auth_socket to one that makes use of a password, if you haven’t already done so. To do this, open up the MySQL prompt from your terminal:
sudo mysql
To configure the root account to authenticate with a password, run the following ALTER USER command. Be sure to change password to a strong password of your choosing:
ALTER USER 'root'@'localhost' IDENTIFIED WITH caching_sha2_password BY 'password';
exit;
5. Configure Apache:
In order to use phpMyAdmin, you will need to configure Apache to recognize it. Open up a terminal and run the following command:
sudo nano /etc/apache2/apache2.conf
Add the following line to the end of the file:
Include /etc/phpmyadmin/apache.conf
Save the file and exit.
Restart Apache with the following command:
sudo systemctl restart apache2
That's it! You should now have Apache, MySQL, PHP, and phpMyAdmin installed and configured on your system. You can access phpMyAdmin by navigating to http://localhost/phpmyadmin in your web browser.
Leave a Reply
Comments
Georgeclils
1 week ago
Hi, I wanted to know your price.
Avaanner
2 weeks ago
Hey, I just stumbled onto your site… are you always this good at catching attention, or did you make it just for me? Write to me on this website --- rb.gy/3pma6x?anner --- my username is the same, I'll be waiting.
Georgeclils
1 month ago
Γεια σου, ήθελα να μάθω την τιμή σας.
DerekPoolo
1 month ago
For bulk verified social media accounts, choose https://ToMyAccount.com. Our PVA accounts are created with different server IPs to ensure they work effectively across all platforms. Get started today and enjoy the benefits of fast delivery, secure transactions, and reliable service. Click to Explore: https://ToMyAccount.com Thank You Kindly!
Georgeclils
2 months ago
Ciao, volevo sapere il tuo prezzo.